Mounting
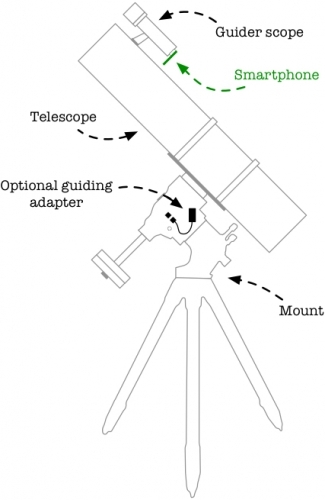
Your smartphone is attached to the finder or guider scope behind the eyepiece, while the photo camera is mounted to your telescope. Smartphone and photo camera should face in the same detection as much as possible.
It is crucial that your smartphone is mounted in a stabile, secure and centered way, due to the following reasons:
- While guiding, the smartphone must not move. Otherwise, the tracking of the guiding star is lost.
- The smartphone has a certain weight and should not drop out from its mounting. The probability that is lands on a soft surface is quite low.
Ensure that the smartphone is aligned in front of the lense in a straight manner. Otherwise, star are not captured as circles and potentially change their shape during tracking.
I recommend using a smartphone mount that is screwed with the guider scope, sucht that it cannot slip out. This meets the above mentioned requirements and simplies the setup.
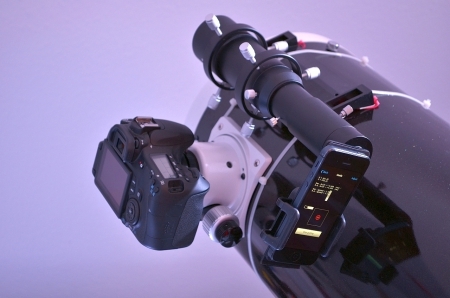
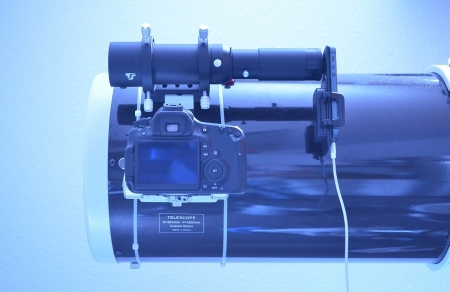
You find an example setup in the image:
The setup consists of the following components:
- Finder scope with T2 connection
- Adapter for eyepiece photography with inserted wide angle 25mm eyepiece
- T2 extender
- Smartphone-to-T2 adapter
- iPhone 5
- SkyFi Wireless Telescope Controller
- DSLR in focuser of telescope


